RV Interior Door Makeover
Have a boring RV interior door that you’d love to give a facelift? This DIY tutorial shows how to change the look of a door to make it into a modern wood door for cheap! This pattern is so easy to make with only 45 degree angled cuts. Best of all, it uses plywood strips which makes it an expensive way to update a door in your home or RV.
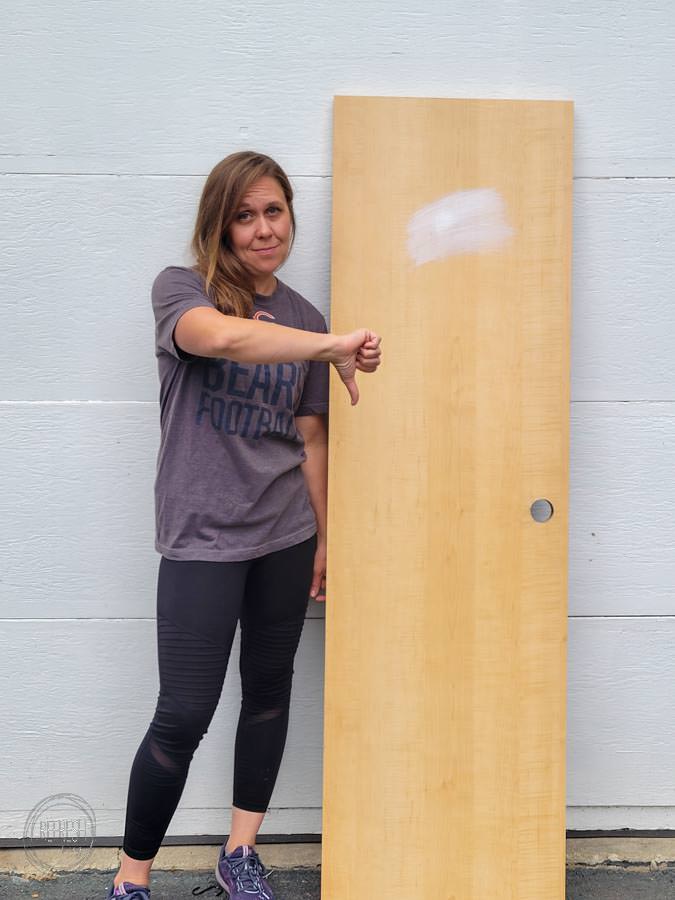
We purchased a 2006 hybrid camper and many of the surfaces were covered in fake wood paneling, cabinets, and trim. The bathroom door was a hollow core door in this same light faux wood finish. Of course, I could have just painted the door, but instead I chose to bring some natural wood into the camper without adding extra weight.

I wanted to update this door to give it a modern look with a wood design. There are many different options in designs when updating a door (or wall) with wood. I chose a VERY simple pattern that used up leftover wood I had from another project and was easy to make with only a few cuts and no strange angle measurements.
We are renovating our bathroom and I removed the plywood planks I added when I gave the room a quick facelift several of years ago. The back of those panels were still unfinished pine, so I reused them for this project.
I decided to add small gaps between each of the boards to make it easier to see the design and to draw attention away from the fact that this wood planks are only made of plywood.

How to Add Wood to RV Interior Door
Supplies to Update RV Interior Door
This post contains affiliate links. Read my full disclosure policy here.
- 1/4″ plywood, ripped down into 3″ strips
- wood glue
- nail gun with 1″ nails
- polyurethane or other wood finish
1. Cut the Wood Planks
I ripped my 1/4″ plywood down to 3″ wide because I already had 6″ planks and it was easy to cut them in half and have two usable pieces. You could definitely create thicker or thinner planks for this step depending on the look you’re going for.

After ripping down all of my wood into 3″ strips, I cut 45 degree angles on the ends of the boards. Half of the boards will have the 45 degree angle facing one way and the other half of the boards will have the 45 angles facing the other way. (If your wood is finished on both sides, this won’t matter for you. My wood had whitewashed gray stain on the back side and I didn’t want that side showing.)
The best part about this wood door update is that the ONLY cuts you’ll need to make are straight cuts of 45 degree angled cuts! There’s no crazy angles or measurements here.
2. Prepare the Door
Before adding the wood to the door, I primed and then painted the door in a dark gray/blue. This was the color I used on some of the other cabinets in the camper as well. I like using black or other dark colors when creating gaps between wood so the pattern is easily visible.
3. Attach Wood to the Door

Before attaching any wood to the door, I planned out the design with my cut pieces. I clearly didn’t care about the length of each board in this step. I just needed it to extend off the edge of the door because I planned to trim all the pieces at the end. (This ended up being a huge time saver as I didn’t need to make any measurements AND I didn’t make any miscuts!)

I measured to find the halfway point of the height of the door and used this as my guideline for the angled pieces. All of the angled pieces were 45 degrees (bottom half of the door boards with cuts angled one way and the top half of the door pieces angled the other way).

To attach each board, I used wood glue and 1″ nails with a cordless brad nailer to attach each board to the door. (This airless nail gun is my favorite – I use it for SO many projects!)
4. Trim Excess Wood

After all the boards were attached, I used a circular saw to trim off the excess wood. Because the blade cuts from the bottom up on a circular saw, you want to put the “good” side of your wood facing down for the cleanest cut on the plywood boards. (I got too excited and just starting cutting. The wood did split a little until I remembered I needed to flip the door over! How many times can I do that before I remember?!)

I used a jigsaw to cut the planks that covered the doorknob hole, but a hole saw could just as easily be used. (Thankfully most jigsaw blades cut on the upstroke so you can keep the “good” side of the door facing up.)
5. Finish the Wood on the Door

To finish the wood, I used clear polyurethane (oil-based). When choosing a finish for raw wood, consider that polyurethane will change the color of the wood and darken it slightly. Water-based polyurethane (or also called polyacrylic) will provide a clear coat but will not darken the wood at all. They both give a sturdy finish for the wood, I just make my choice dependent on the look I’m going for.

Here’s how the door turned out. I like the look so much better than the fake wood sticker that was on the door before. Plus, I was able to reuse old materials I already had on hand making this a FREE project!

Personally, I think this update would look great on an RV interior door or a hollow core door in your home as well. Send me a photo if you make this update to your camper!
